
Today, tin is a familiar metal. However, in the 16th and 17th centuries it was quite rare and valuable, so Russia bought it in other countries. Tin was used to coat iron products to protect them from rust. From this metal, Russian craftsmen created dishes with relief patterns, since soft, malleable tin was easily processed with a chisel. After casting, the craftsman decorated it with intricate ornaments or engraved inscriptions. Today, the Moscow Historical Museum has various samples of tin utensils, which have been preserved since ancient times.
Briefly about malleable tin
Tin metal has such a structure of crystals that when it is bent, the metal crystals crackle as a result of friction against each other. This crunch is a distinguishing feature of pure tin from its alloys, which do not make sounds when bent.

It is possible to apply various decorative coatings based on tin or any alloy made from it at home. In this case, the question may arise, how to make tin yourself? It is mined using electrochemical etching methods using an electrolyte solution, which you will need to make with your own hands, using pure tin and its salts for this.
Craftsmen can get tin at home in the following ways:
- Use chemical reactions to obtain tin oxide, followed by its melting in a crucible. As a result, pure tin will stand out.
- Obtain tin chloride, and then, using the electrolysis of canned food cans with an electrolyte, isolate tin based on the available chloride.
How to get tin chloride at home?
A simpler and cheaper method for obtaining tin chloride is the use of tin-lead solder.
- It is necessary to take concentrated hydrochloric acid, bring it to a boil and dissolve the solder in it.
- The next step is a strong cooling of the solution, during which precipitation of lead chloride will be observed in it.
- The resulting precipitate is filtered with decantation, and the electrolyte is prepared on the basis of the filtered solution (which is practically pure tin chloride with a small amount of impurities).
- Due to the rapid oxidation of stannous chloride, the application of the resulting solution should be immediate.
Video on how to get tin chloride at home
How to get pure tin at home?
In order to make an electrolyte, it is necessary to take a small portion of tin chloride for seeding. Later, after isolation, it will be possible to prepare a purer chloride solution. To do this, you need to take aqua regia or hydrochloric acid and dissolve the metal. Pour an alkaline solution (9-10%) into a 7% solution of SnCl2 (tin chloride), stirring constantly, resulting in the formation and precipitation of a white precipitate – tin hydroxide. It is necessary to stir the solution until it becomes completely transparent, which will indicate the readiness of the electrolyte.
How to make tin at home? This will require a rather large tin can (3-5 liters) and a lid made of dielectric material. The cans have a tinned inner surface – that is, a layer of tin that protects the iron can itself from oxidation, and the food product in it from spoilage. Therefore, it is possible to extract tin from cans for its reuse. You need to remove the sticker from the jar and remove dirt from it, for which you need to boil it in a strong soda solution for 30 minutes. The following is done next:
- A carbon cathode is placed in the center of the can.
- Connect the anode to the body of the can.
- Fill in the electrolyte and connect the power supply (4V). To do this, you can take several series-connected batteries or an accumulator.
- To increase the amount of tin you get, cut some old canned food into pieces and put them into the electrolyser. In this case, it is necessary to prevent their contact with the cathode. One medium-sized tin can contains 0.5 g of tin.
- The result of the experiment is the separation of spongy tin at the cathode. It needs to be collected and melted in a crucible into a metal of a characteristic silver color. Why can tin be melted at home? Because it has a melting point of 239˚C, while iron, for comparison, has a melting point of 1538.85˚C.
Video about casting from tin at home
Tin casting at home
Making small figurines and tin products at home today is not only interesting, but also quite profitable. After all, many collectors are ready to pay a lot of money for a tin soldier, a model of military equipment or just a souvenir. Amateur artists who want to learn how to cast details usually use tin for this, since it has the following positive qualities:
- Attractive beautiful color similar to the color of silver.
- Tin is technologically advanced, has a low melting point.
- It is plastic, easily engraved and minted, “molded" with a soldering iron.
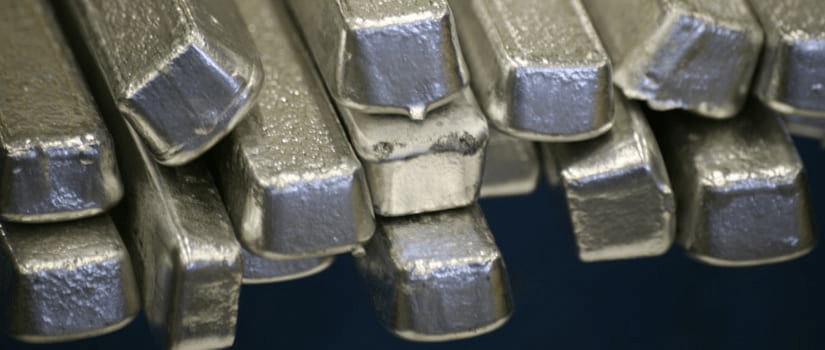
A skilled craftsman, using simple equipment, is able to turn a small silver ingot into a beautiful sculpture, a flashlight, a candlestick, a casket, a medal, a brooch, a bracelet, a cufflink and much more. In addition, openwork and embossed plates are created from tin for decorating boxes, decorating door hinges, handles, keyholes. How is tin casting done at home? This process consists of the following steps and features:
- The production of future products begins with the creation of color sketches on a piece of paper.
- After that, polymer clay is taken and a figure is prepared from it to create a mold. At the same time, every smallest detail is applied with a stack and a thin awl.
- Form making is the most important step. It must have the perfect fit. This is necessary for easy and safe extraction of the casting. As a rule, molds for casting are made collapsible, consisting of 2 parts.
- The most optimal material for the mold is gypsum or silicone, but in order to make a silicone mold, you need to spend much more material and time.
- In addition, special sealants are sold in stores, which are poured onto models, they harden and, thus, receive reusable molds for filling.

- In cases where a lot of small details will be present in the future product, the mold is made with an insert.
- An important role is played by the size of the channel in the form through which the metal is poured into it. The smaller it is, the slower the mold is filled, while there is a danger of rapid cooling of the metal, which can lead to the formation of cavities.
- When casting the part, the two halves of the mold should be folded together and placed between a plywood sheet about 12 millimeters thick. Then they need to be pulled off with a tight elastic band.
- After preparing the mold, the metal is heated. The readiness of the alloy for pouring is determined by the formation of a yellowish film. If the metal is overheated, the film will acquire a blue or purple hue.
- The pouring of metal into the mold must necessarily be done in a thin stream, while tapping the mold a little, thus preventing air retention in it. At the same time, it is necessary to remember the rules for safe work with heated alloys.
- After the mold is filled with metal, it is required to leave it for a while to cool and solidify the alloy inside it.
- Then the form is opened, and the finished product is carefully removed from it with tongs. As a rule, there are always defects on the first product. Therefore, the figurine is additionally processed – flashes are removed (metal that has flowed into the seams between the two parts of the form). They are scraped off with tools such as a scalpel or scraper.
- Next, the seams are polished with fairly fine sandpaper. In the manufacture of complex figures and products cast in separate parts, these parts are connected with a soldering iron.

- In order to glue small parts, epoxy glue is used. The places where the parts were soldered and glued are carefully and accurately polished.
- Then you should prepare a strong solution of soda and wash the finished figure in it with a thin brush to remove the flux.
- If necessary, the finished product is painted with acrylic paints.
Having successfully mastered this fascinating old craft, a skilled craftsman will have the opportunity not only to do what he loves, but also to earn good money. In addition, it will be a great gift for a 10th wedding anniversary (tin anniversary).